


Choosing the right shades can shape the mood of your living room. Bottom-up shades offer a flexible way to balance daylight and privacy. They rise from the bottom to let in light at eye level while shielding your space. You can customize their style to match any décor. This guide shows how to select, measure, and install shades for lasting comfort and elegance.
Understanding the Benefits of Bottom-Up Shades
Bottom up shades bring both beauty and function to your living room. They offer unique benefits that go beyond traditional window coverings.
Light Diffusion
Light diffusion softens harsh sunlight and prevents sharp shadows on walls. The fabric filters light gently for even brightness. You reduce glare on screens and book pages with ease. This makes reading more comfortable throughout the day. The soft glow creates a warm and relaxing atmosphere in the nook. You enjoy natural light without harsh beams or eye strain. It also protects fabrics and furnishings from UV damage.
Privacy Control
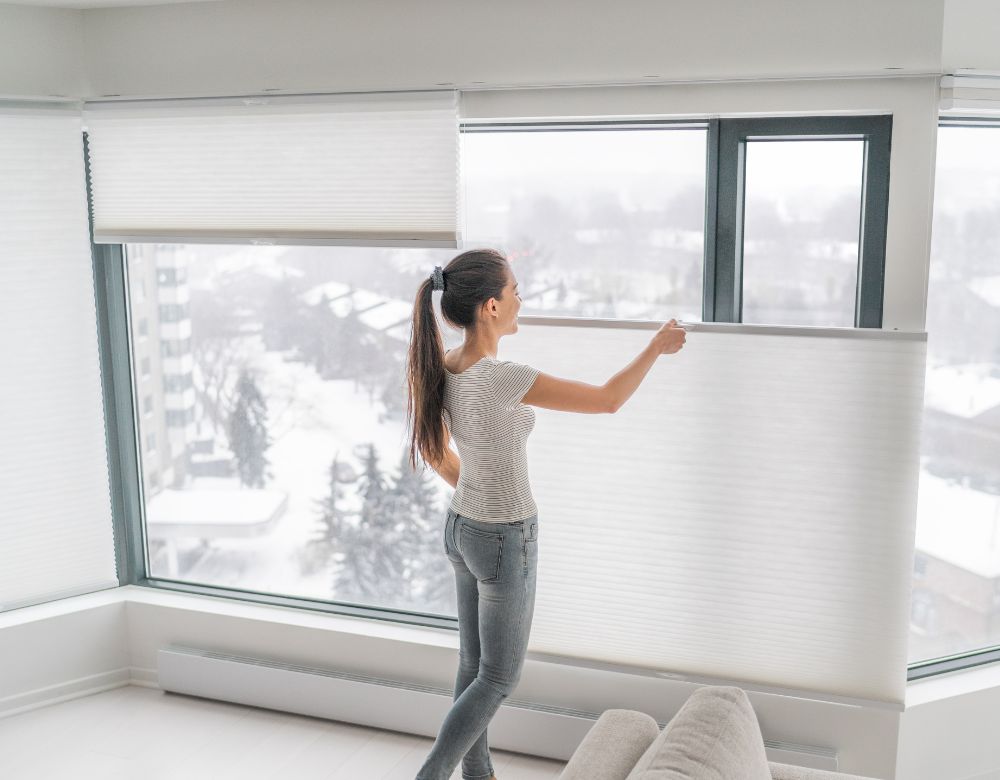
Privacy control lets you hide the lower part of the window. You keep prying eyes out while still seeing the sky and treetops. The design keeps the top area open for daylight. This balance works well in ground-level rooms. You feel secure without darkening the space. The shade design gives you control over your view. It offers versatility for any time of day. You adjust the height smoothly with a simple pull.
Energy Efficiency
Energy efficiency helps keep your living room comfortable all year. The shade forms an insulating barrier at the glass. You reduce heat loss in winter. You block excess heat in summer. This lowers your energy bills over time. The result is a more eco-friendly and cost-effective home. Insulated shades make your HVAC system work less. They help maintain a steady temperature near the window. This saves energy in every season.
Materials and Style Options
Choosing the right materials and style makes your shades both beautiful and durable. Careful selection ensures they blend seamlessly with your décor.
Wood Types
Hardwoods like basswood and oak offer natural beauty and strength. They have tight grains that resist warping. You stain them to match your furniture. They bring a warm feel to your space. Properly finished, they resist fading. These woods deliver a timeless look that ages gracefully. Solid wood has natural insulation properties. It can reduce noise slightly. The heft of hardwood blinds also ensures smooth operation. They feel sturdy and sound durable when you adjust them.
Fabric Choices
Fabric shades offer a softer look than wood. Materials like linen, cotton, and polyester weave vary in light filtering. Sheer fabrics allow a gentle glow while blocking direct sun. Heavier weaves block more light and add privacy. You can choose blackout fabrics for nap time. Many fabrics come with UV protection. This suite of options makes it easy to find a perfect match.
Color and Pattern Trends
Neutral tones such as beige, gray, and ivory provide a calm backdrop. They blend seamlessly with most décor styles. Bold colors add a pop of interest and draw the eye. Patterns like stripes or geometrics bring energy to your nook. You can mix and match patterns with solid colors. The best choice reflects your taste and existing scheme. Consider accent hues that complement your reading chair or rug.
Measuring Your Windows for a Perfect Fit
Accurate measurements ensure shades fit without gaps or buckling. Follow these steps before ordering to get a precise result.
- Measure window width at three points: top, middle, and bottom, to find the smallest size.
- Measure window height at three points: left, center, and right for best accuracy.
- Record the smallest width and height for inside-mount shades.
- Add extra width (usually 1–2 inches) for outside-mount installation.
- Measure window recess depth to confirm inside-mount fit.
- Check for obstructions like handles or vents near the window.
- Note any window curves or arches if your niche is non-standard.
- Verify the window sill or ledge depth before finalizing your choice.
- Confirm the clear space needed for smooth shade operation.
Installing Bottom Up Shades Step-by-Step
Installing bottom-up shades can be a DIY project with the right tools. Use these steps for a smooth, professional result.
- Use a level to mark bracket positions on the window frame or wall.
- Drill pilot holes for screws to prevent wood splitting.
- Secure brackets tightly using screws suitable for your wall type.
- Snap the shade’s headrail into the brackets until it clicks.
- Test the shade’s movement by raising and lowering it fully.
- Adjust spring tension or clutch settings for smooth bottom-up operation.
- Attach the decorative valance or cover to conceal the mounting hardware.
- Secure any cords or tension devices according to safety guidelines.
- Trim excess cord and install cord cleats out of reach of children.
Adjusting Light Control and Privacy
Fine-tuning your shades ensures just the right balance of light and privacy. Use these features to customize your view and comfort.
Tilt Mechanism
A tilt mechanism lets you angle slats without raising the shade. You can point slats up to bounce light off the ceiling. Or point them down to direct light into the room. This feature gives you precise control over brightness. It lets you read comfortably without glare. You adjust slats with a simple tilt rod or wand.
Cordless Operation
Cordless operation removes dangling cords for a cleaner look. You simply push or pull the bottom rail to raise or lower the shade. This design reduces cord-entanglement hazards for kids and pets. It also keeps your space tidy and uncluttered. Cordless shades offer quick adjustments with one hand. They are a safe, modern choice for family rooms.
Dual Layers
Dual layer bottom up shades combine sheer and opaque fabrics in one shade. The two layers slide for different light effects. Sheer panels let soft daylight in while blocking direct sun. Opaque panels block light completely for privacy or movie nights. You shift layers easily to find the right balance. This option gives you maximum flexibility in one system.
Cleaning and Maintenance Tips
Routine cleaning keeps your shades looking new. Follow these maintenance tips for easy care.
- Dust the shade’s surfaces weekly using a microfiber cloth or duster.
- Use a vacuum cleaner’s brush attachment for deeper cleaning in creases.
- Spot-clean spills immediately with a damp cloth and mild detergent.
- Avoid harsh chemicals that can damage fabric or wood finishes.
- Wipe wood slats gently with a barely damp cloth; dry immediately.
- Check lift cords, tilt rods, and brackets for signs of wear.
- Tighten loose screws or brackets to maintain smooth operation.
- Replace damaged slats or mechanisms promptly to prevent further issues.
Conclusion
Bottom up shades bring style and flexibility to your living room. They let you control privacy and light easily. When you pick the right materials and measure carefully, you ensure a perfect fit. DIY installation is possible, but professionals can help. Regular care keeps shades fresh. They enhance both energy efficiency and home value. Enjoy your cozy, well-lit nook every day.
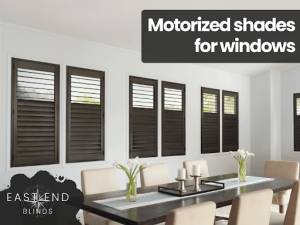
For expert guidance on bottom-up shades, trust East End Blinds. We carry top-quality materials and the latest designs on window treatments. Our specialists will help you select fabrics or wood that suit your living room. Professionals handle precise measurements to ensure a perfect fit. With East End Blinds, you get peace of mind knowing your shades will look great and function perfectly for years. Contact our experts today!